Step 1: Creating an RDS instance.
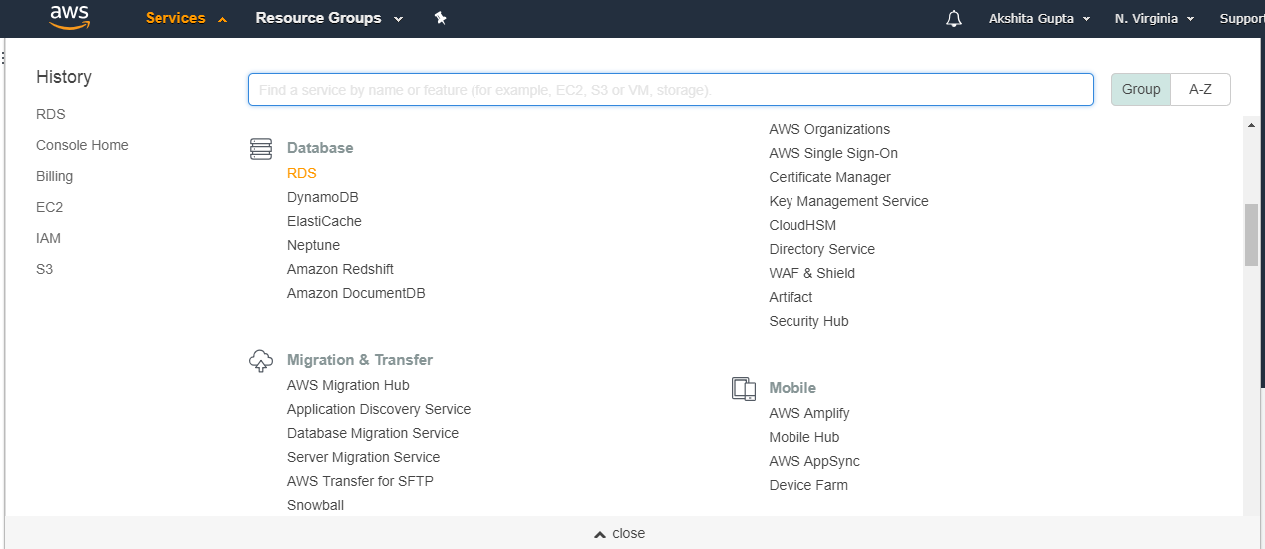
- Click on the RDS service under Database.
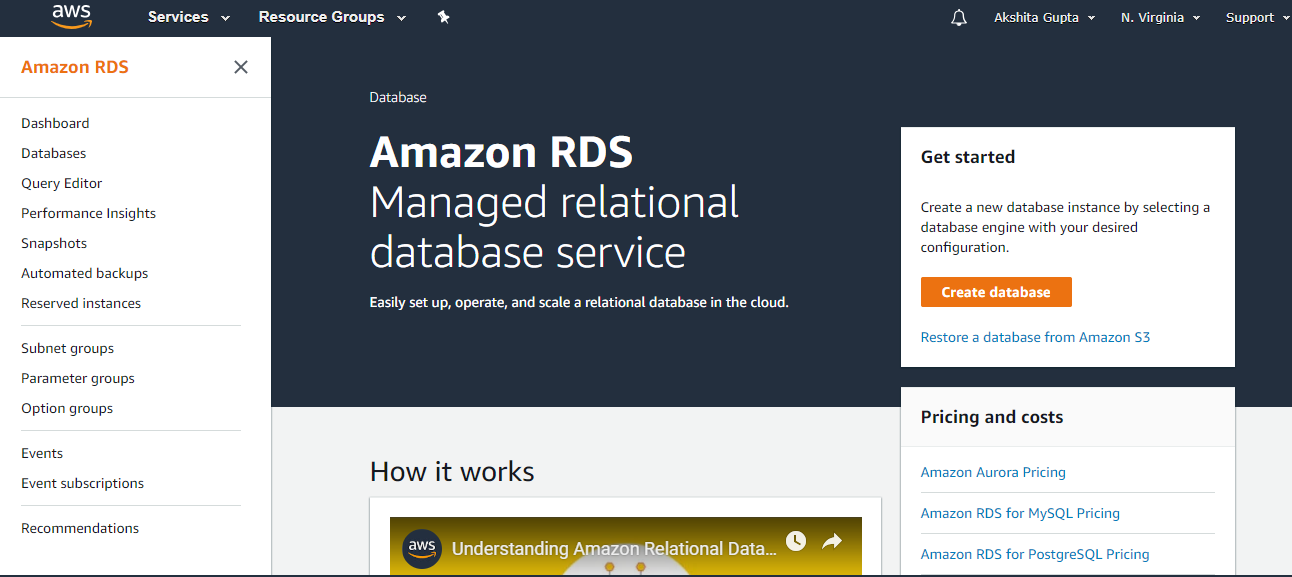
- Click on the Dashboard appearing on the left side of the console, then click on the Create Database button.
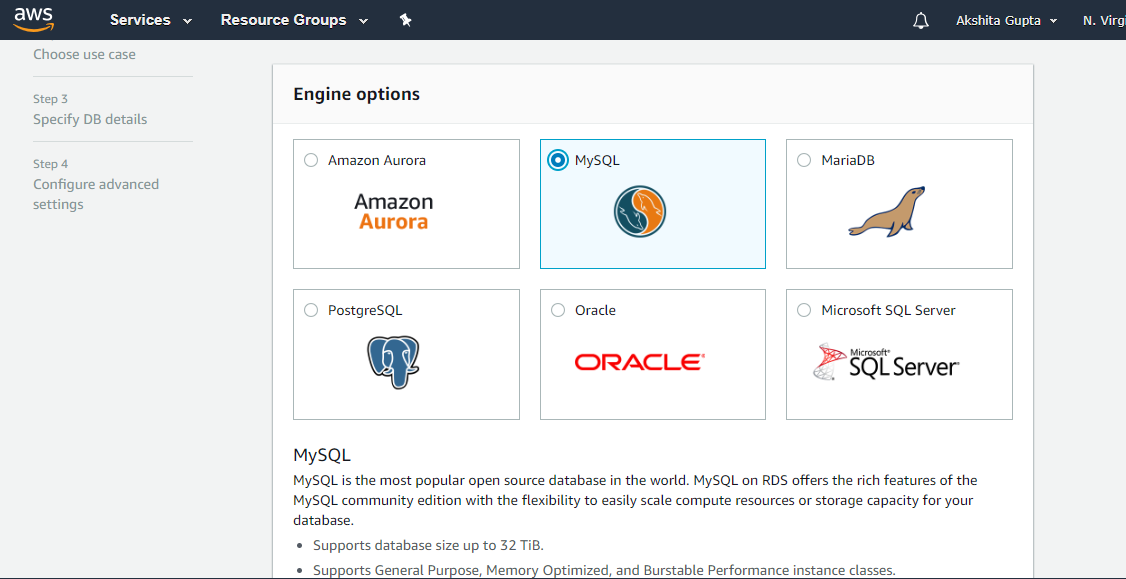
- Choose the MySQL database.
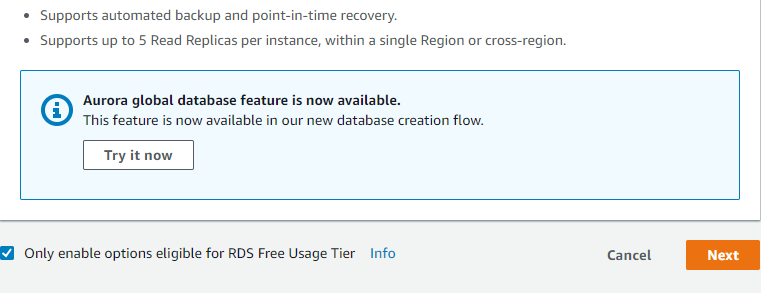
- Check the box of "Only enable options eligible for RDS Free Usage Tier", and then click on the Next.
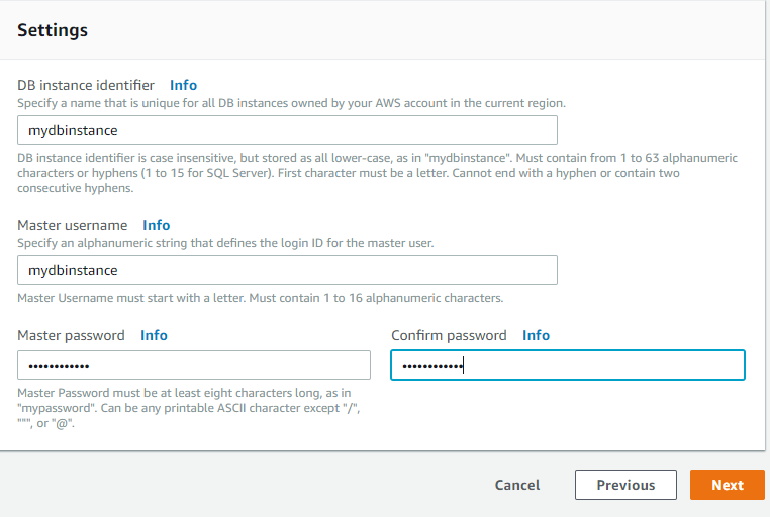
- Specify DB details. Keep all the details as default. Enter the DB instance identifier which would be unique for all DB instances owned by your AWS account.
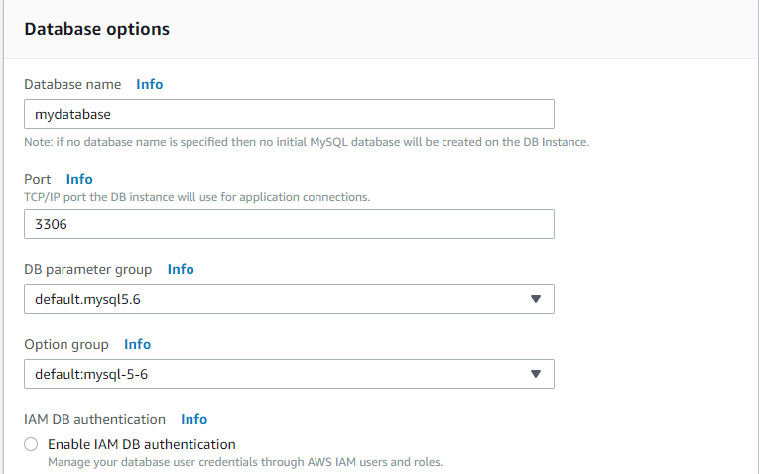
- Configure advanced settings of your RDS instance. Keep all the settings as default except that you need to enter the database name.
- Click on the Create Database button.
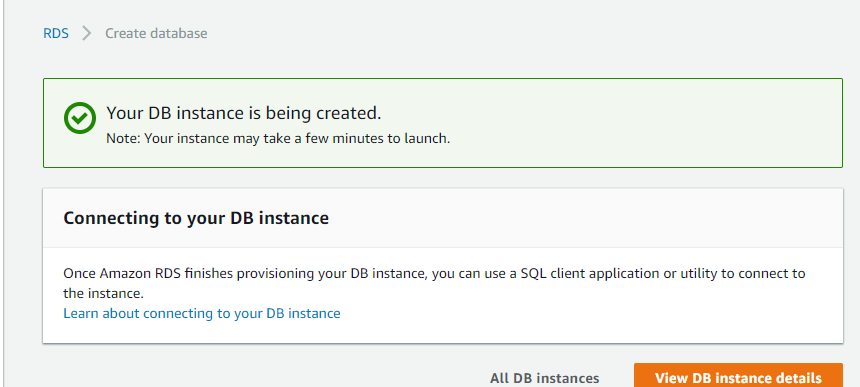
The above screen shows that your DB instance has been created.
Step 2: Creating an EC2 instance.
- Click on the EC2 service.
- Launch an instance.
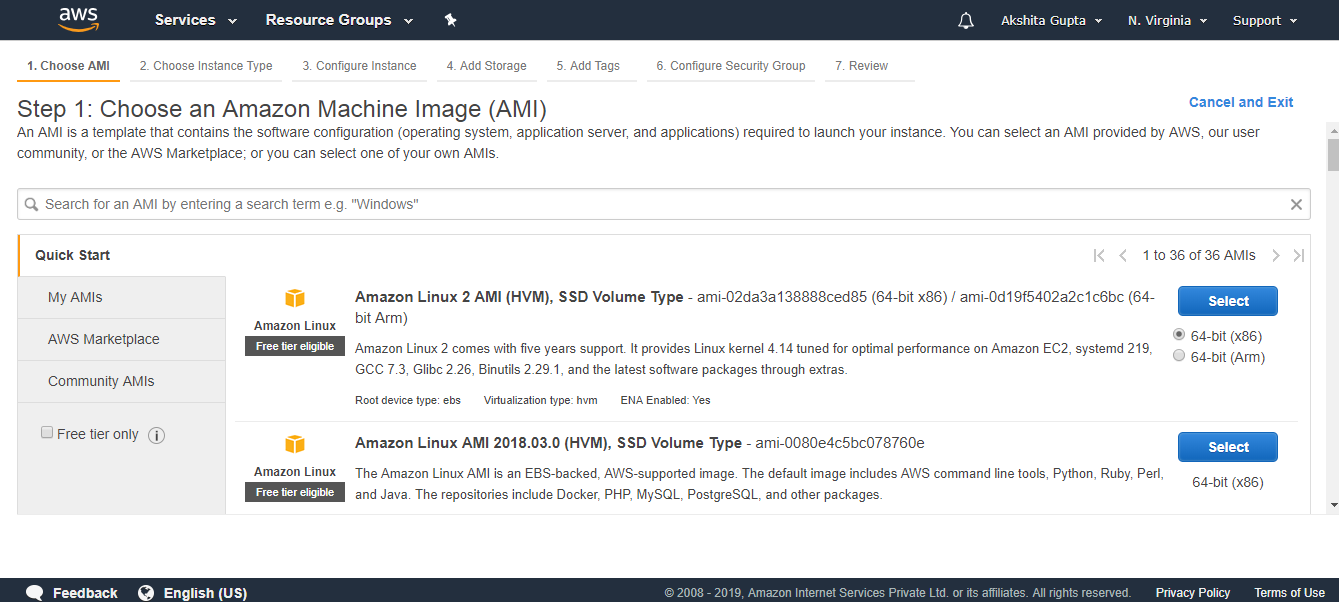
- Choose an Amazon Machine Image (AMI).
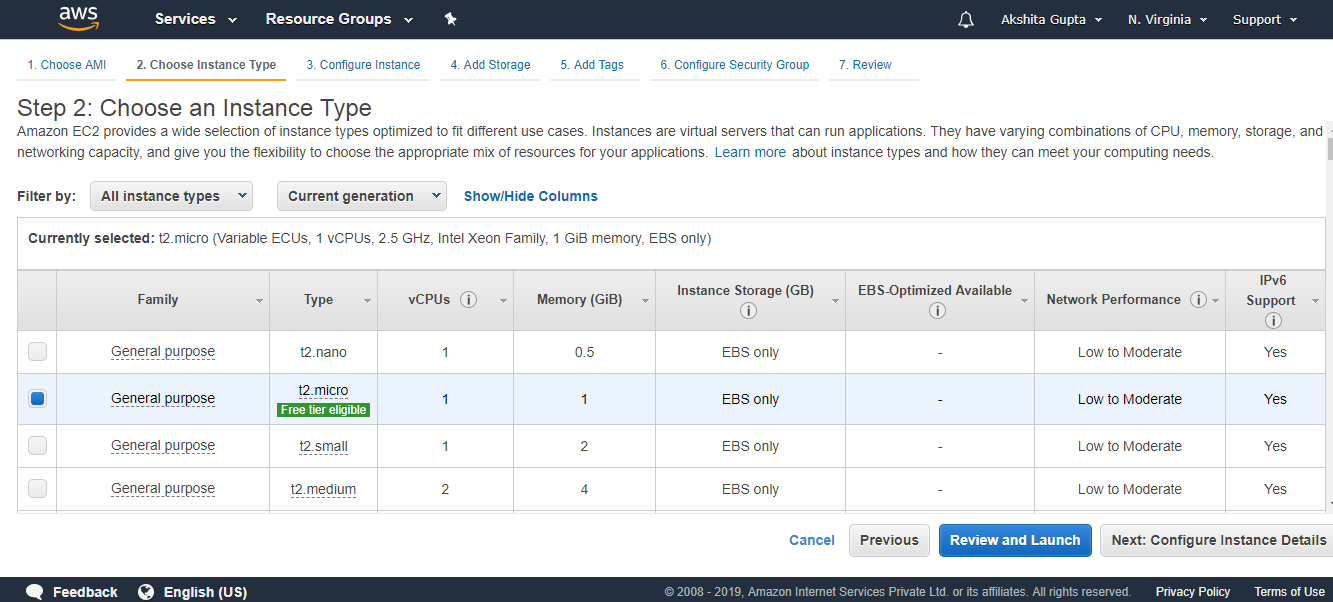
- Choose an Instance type.
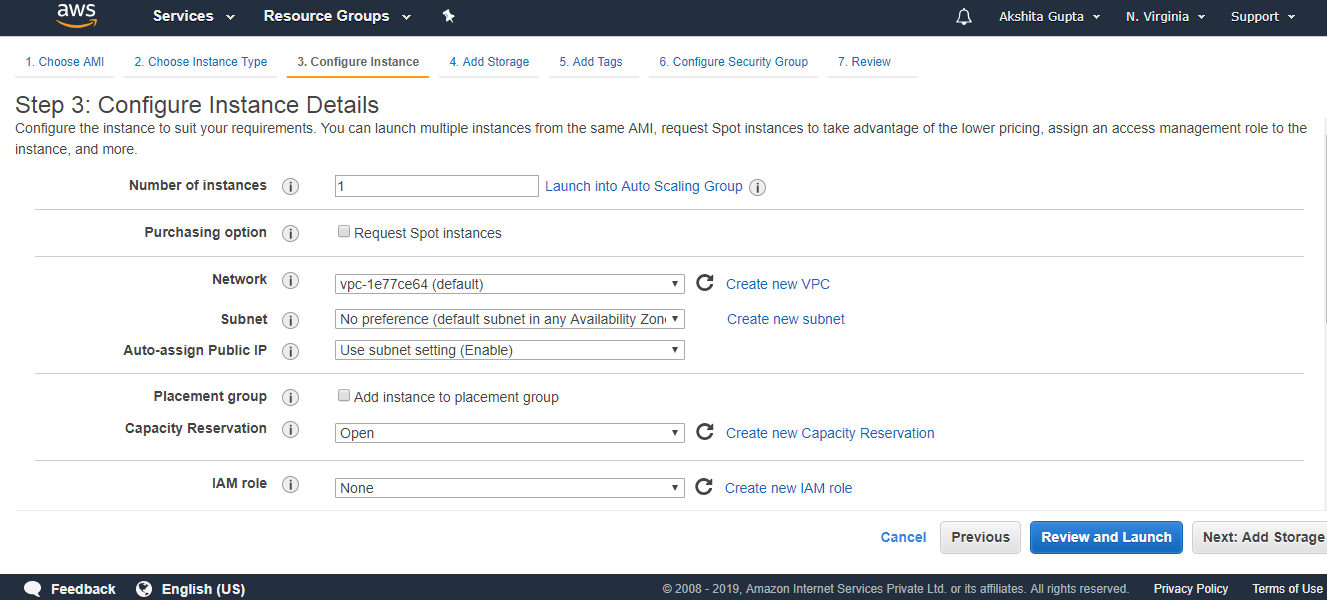
- Configure Instance details. Keep all the details as default.
- (Optional) Add EBS Volume.
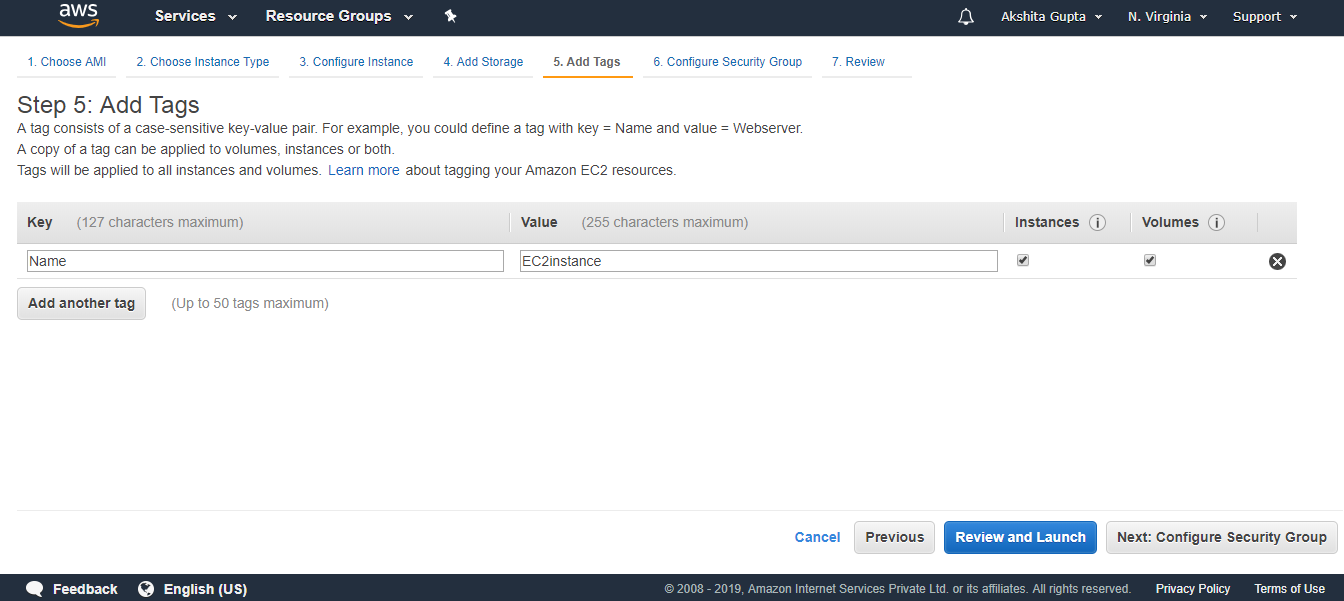
- Add Tags.
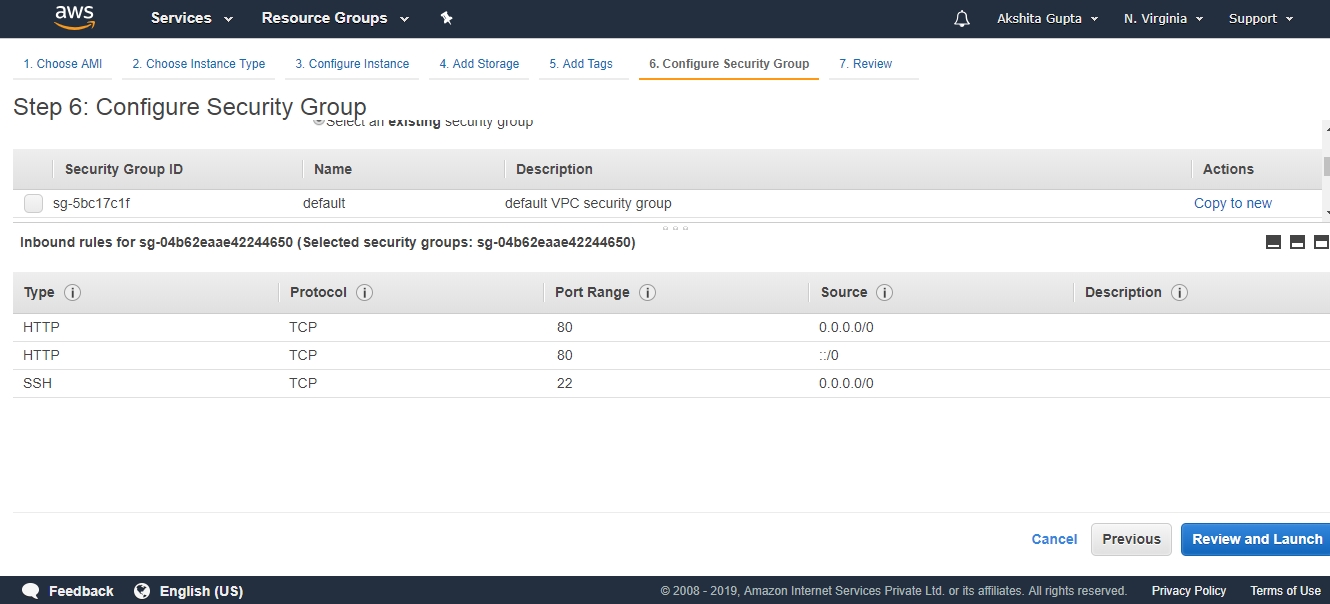
- Configure Security group. Suppose I create a new group whose name is WebServer.
- Click on the Launch button.
Step 3: Installing PHP.
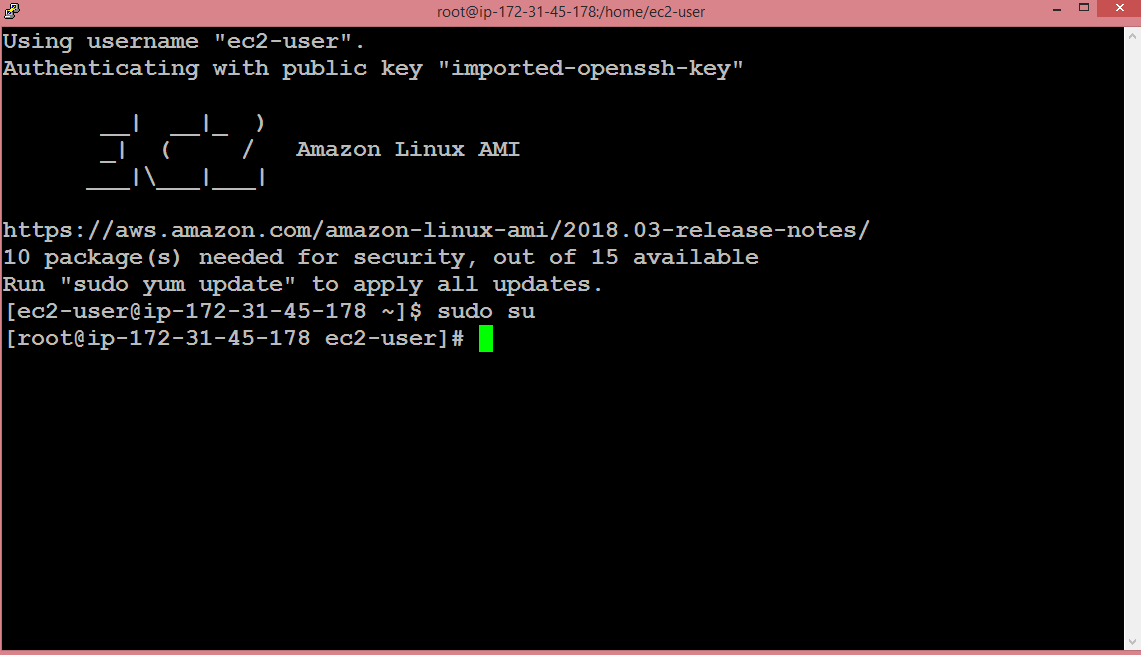
- Open the Putty.
- Add the hostname. i.e., ec2-user@ip_address.
- Run the command sudo su to reach the root level.
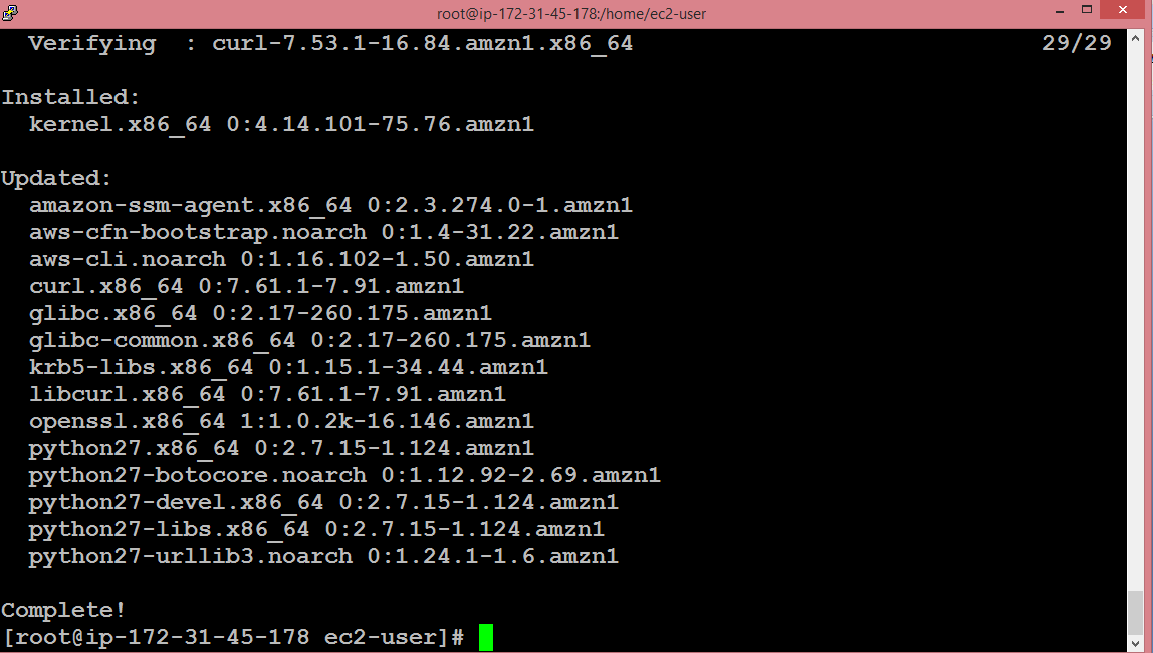
- Install the PHP and server by running the command yum install httpd php php-mysql -y.

The above screen shows that the installation of php has been completed.
- Run the command yum update -y to update the EC2 instance.
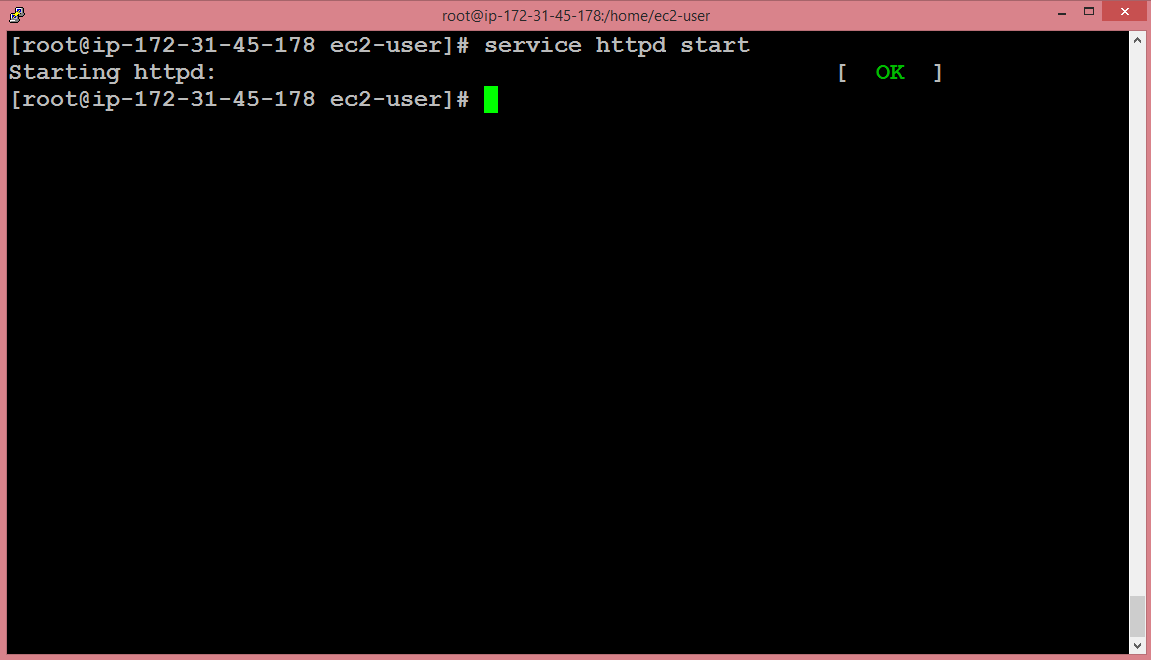
- Run the command service httpd start to start the server.
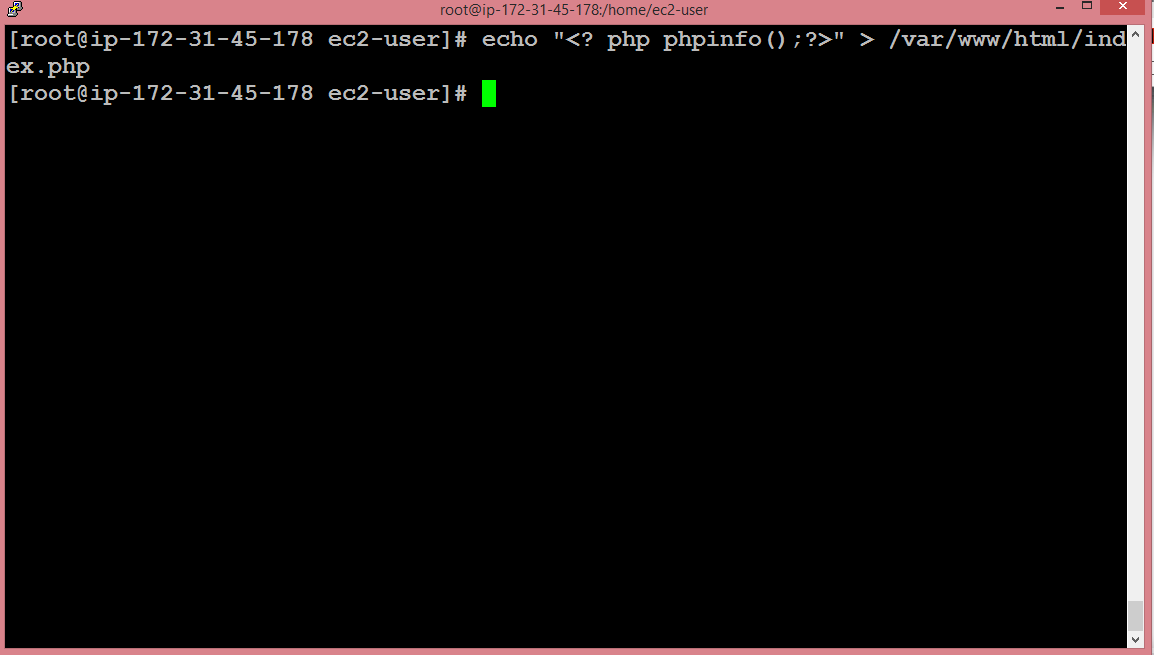
- Put the php information to the index.html fileby running the command echo ?<?php phpinfo();?>? > /var/www/html/index.php.
- Paste the public IP address of an ec2 instance to the clipboard of a web browser.

Step 4: Connect an EC2 instance to an RDS instance.
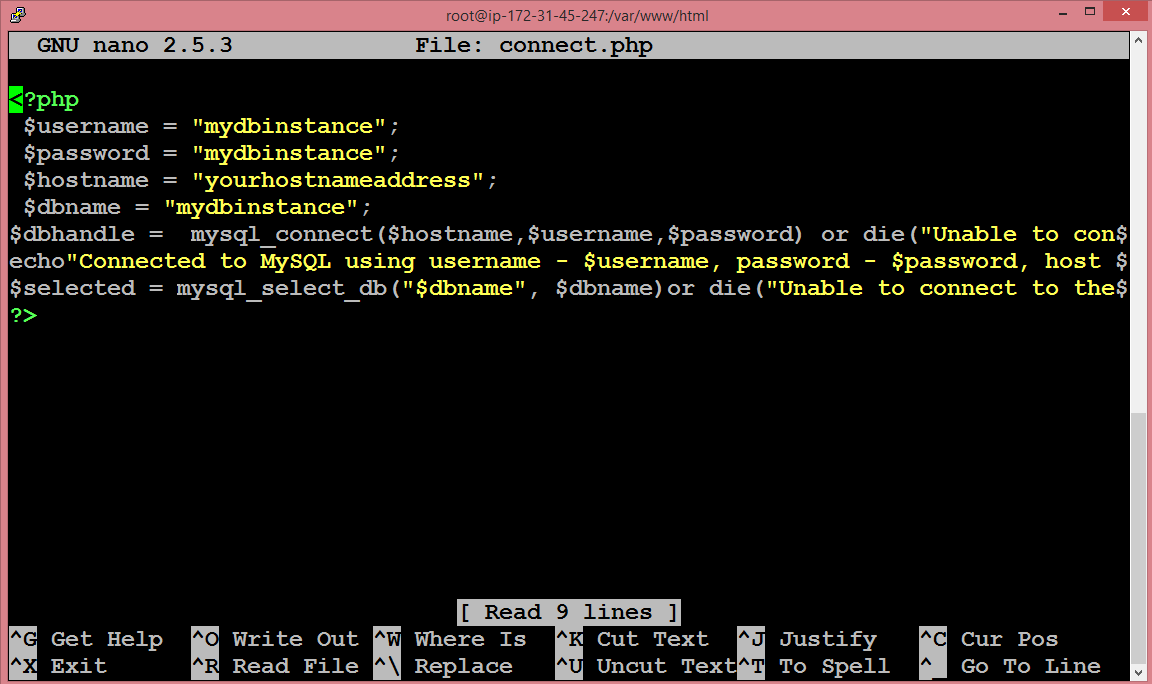
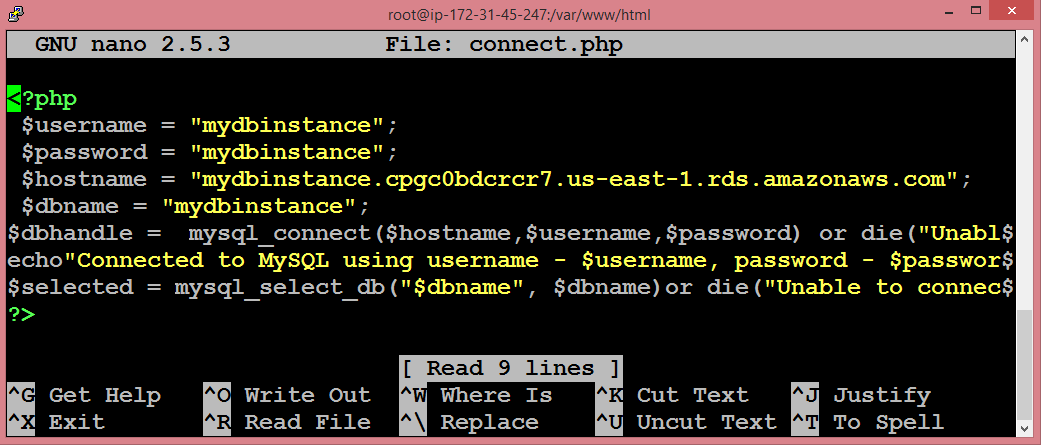
- Create a connect.php file.
- Now, copy the IP address of an ec2 instance with the forward slash, and then connect.php, i.e., 54.210.204.58/connect.php.
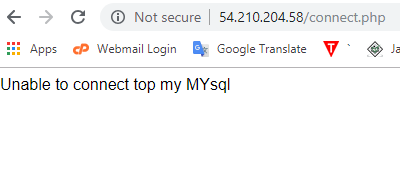
The above screen shows that an EC2 instance is not connected to an RDS instance because of the following reasons:
- Both RDS instance and EC2 instance contains different security groups.
- Update the hostname with the end point of RDS instance.
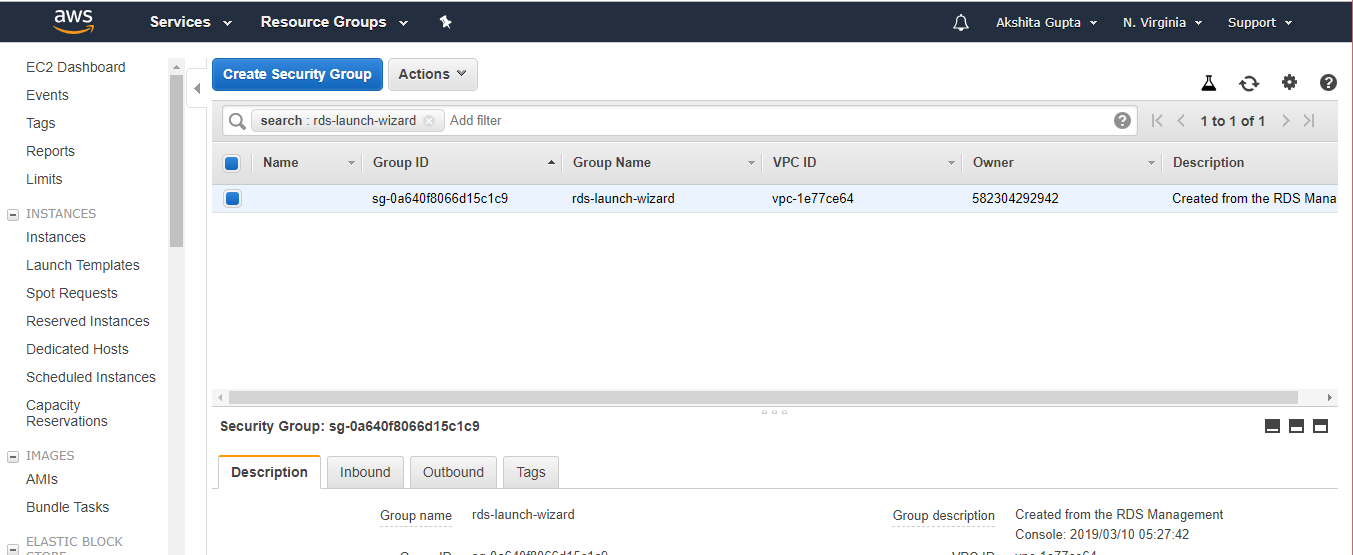
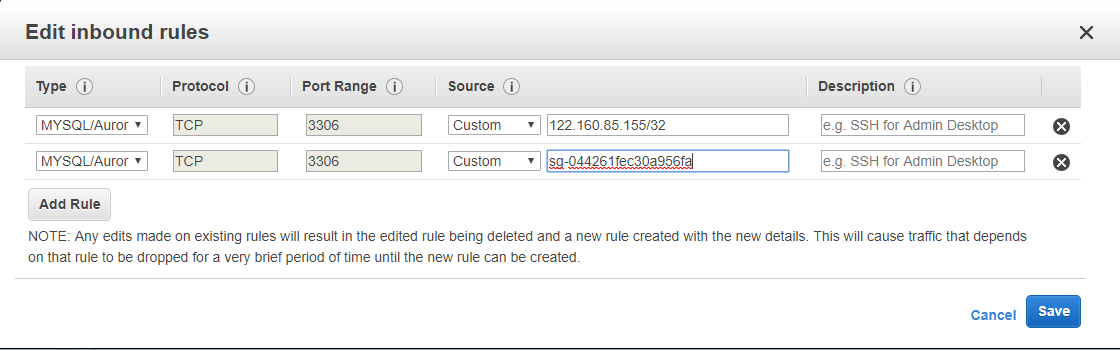
- Click on the inbound rule, and then Edit the rule. This rule is used to achieve communication between two different security groups.
- The screen shown below shows that the hostname has been updated with the end point of RDS instance.
- Now, copy the public IP address of EC2 instance with the forward slash, and then connect.php, i.e., 54.210.204.58/connect.php.

The above screen shows that an EC2 instance has been connected to your RDS instance.


No comments:
Post a Comment